Use instruments to support actions the party already performs
Build the Bard around instrument effects, buffs, healing, and party support that arrive before they are needed. Choose one repeatable support loop, place its defining item first, and keep only gear that strengthens that loop or prevents the Bard from losing its turn. Support has value when it changes the party's next action or survival state.
Do not fill every cell with support. Keep a reliable damage contribution on the Bard or equip companions to remove focused targets while the Bard stabilizes them. A party that cannot finish enemies eventually loses the extra time support creates.
Set Initiative around the first useful support action
Initiative controls early turn order. Raise it when the Bard's buff, heal, or protection needs to occur before an ally takes a dangerous turn. Do not chase Initiative after the required sequence works. Additional timing cannot replace a weak support effect, low survival, or missing party damage.
Order improves abilities that use Order, while Chaos improves curses and Chaos effects. Match investment to the labels on the Bard's equipped actions. Do not assume either stat controls general turn order. The build becomes cleaner when timing, ability scaling, and inventory role remain separate decisions.
- Choose the first party action that needs support.
- Identify the Bard effect that improves or protects it.
- Adjust Initiative until the support arrives in time.
- Return remaining rewards to effect strength, survival, or damage.
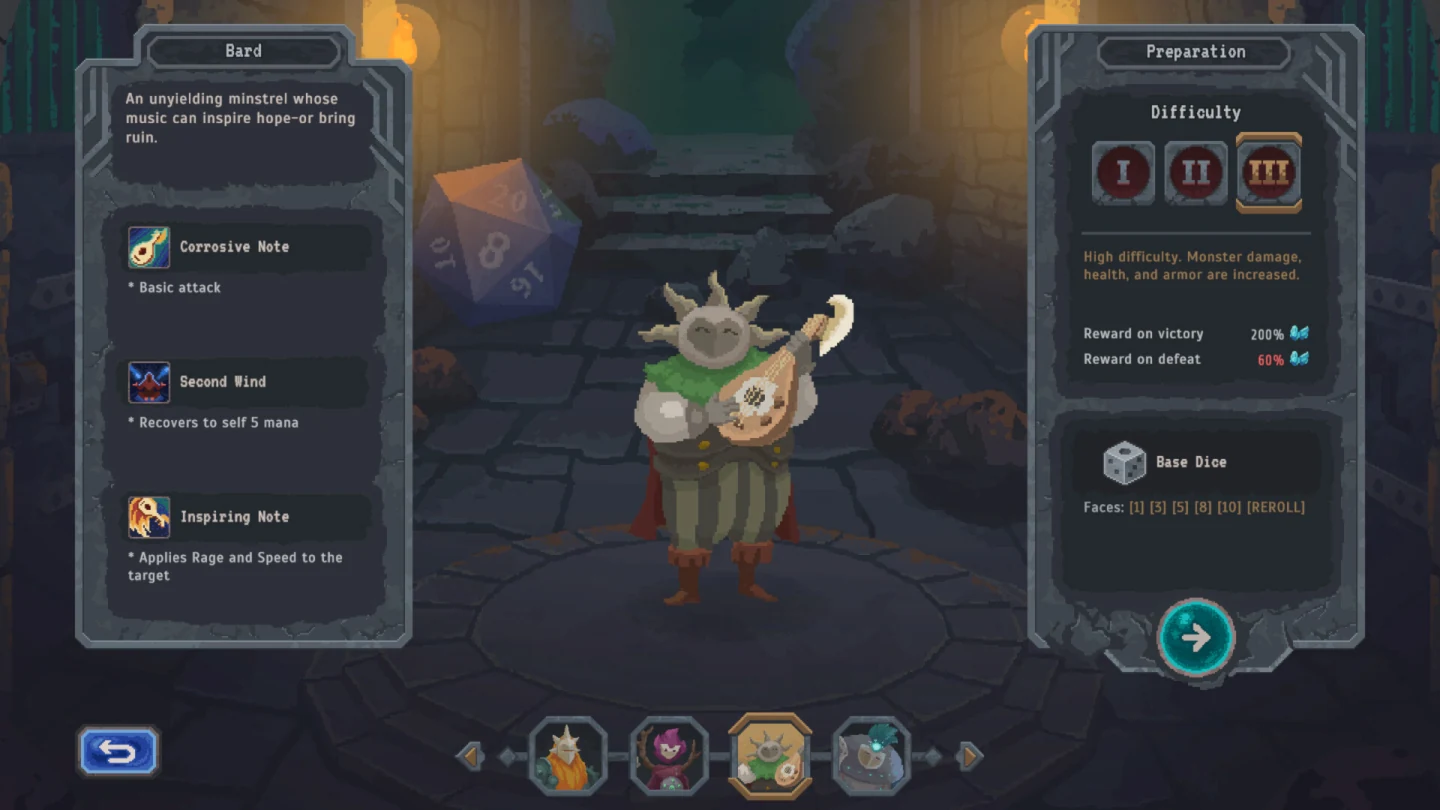
Build a party that converts support into removals
Give companions clear automatic roles. One can handle armor, another can finish low-health targets, and the Bard can keep both functioning. Use the main hero to select the dangerous enemy and create the state those companions exploit. A buff spread across unfocused attacks has less value than the same buff helping the party remove one hostile action.
Protect the companion whose role turns support into progress. If the only armor answer dies, health-focused damage stalls. If the only finisher disappears, several enemies remain active at low health. Spend Bard mana and target priority around preserving the sequence, not around keeping every health bar equally full.
| Stage | Party job |
|---|---|
| Before contact | Bard delivers the required early support |
| Opening | Hero or companion answers armor or the immediate threat |
| Focus | Party concentrates damage on one enemy |
| Recovery | Bard preserves the essential role for the next round |
Evaluate instrument and support rewards by uptime
Keep an instrument or support item when its condition occurs consistently and its effect serves the chosen party sequence. Reject a larger or rarer piece when it breaks the active cluster, arrives too late, or repeats support already covered. The grid must still leave enough room for survival and a direct contribution to ending fights.
Blacksmith Gems belong on a proven support anchor that will remain equipped. Temporary items belong only when their displayed combat timer covers the route segment that needs them. Neither rarity nor prior investment turns an unreliable trigger into a good Bard item.
- Trigger occurs in ordinary and pressure fights.
- Effect arrives before the protected action.
- Party has a clear way to finish targets.
- Grid preserves the main instrument contact and flexible cells.
Fix a Bard build that feels busy but weak
If support arrives after allies take damage, fix Initiative or simplify the trigger. If the party survives but enemies remain active, remove excess support for direct damage or stronger companions. If mana disappears in safe rooms, cast only when the effect changes the encounter. If the grid contains several unrelated instruments, keep the one tied to the central loop and rebuild around it.
A working Bard plan has a visible result: the party acts in the intended order, an essential character survives, and focused damage removes a threat. Keep rewards that reinforce that result and reject decorative complexity.