Lootbound GuideUnofficial fan guide

Roguelike inventory builder guide hub

Lootbound Guide

Solve the decisions that end runs: what to equip, where to place it, when to spend mana, and how to prepare the party for the Guardian.

Start with Beginner Guide
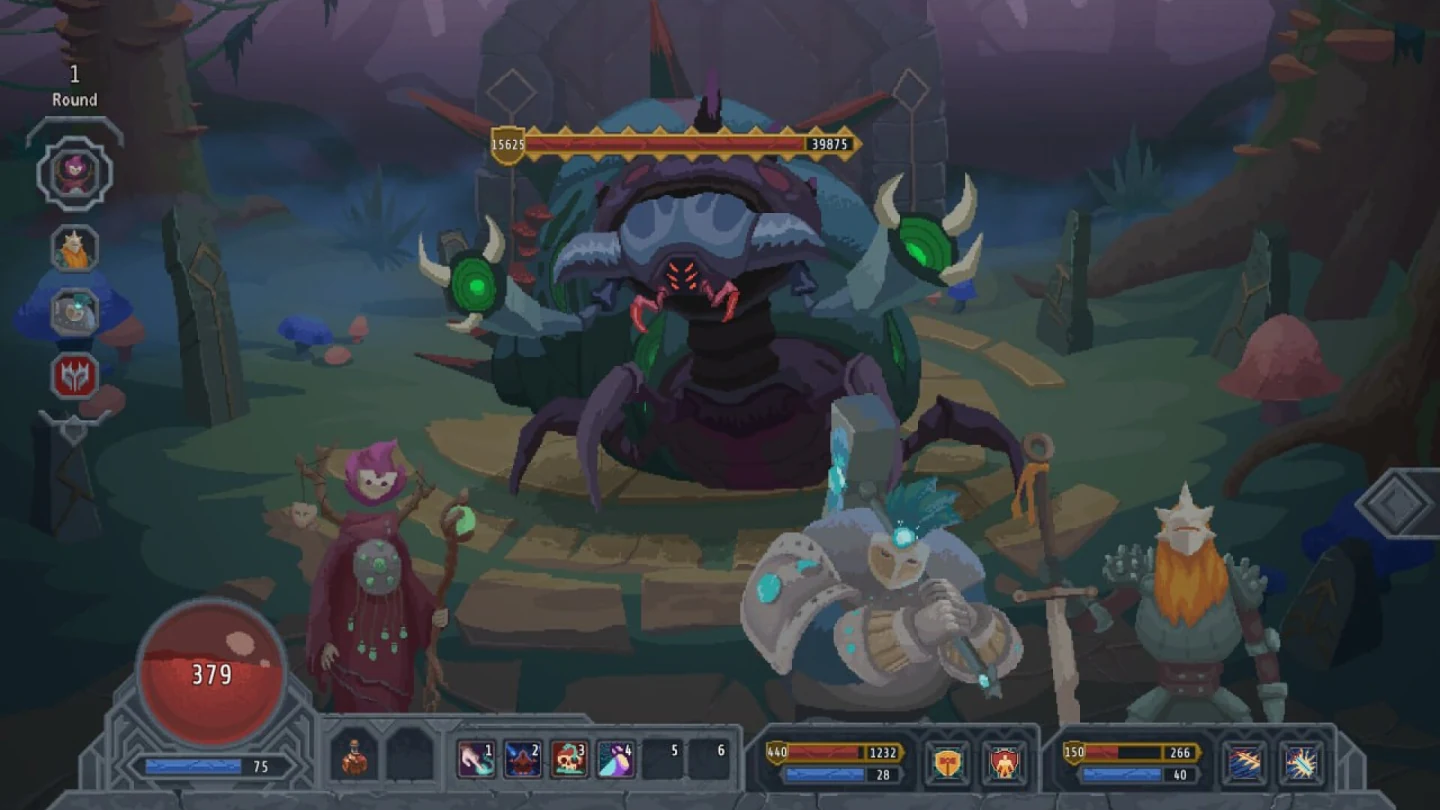
Lootbound final Guardian combat screenshot
ReleaseAugust 14, 2026
PlatformWindows, macOS, Linux, and Steam Deck
Version1.1.7 + August 21 update
FocusBuilds, loot, progression, and bosses

Current library

Latest Guides

40 guides
CampfireLootbound Campfire Guide: Heal and Revive CompanionsRevive defeated Lootbound companions at campfires, choose recovery before elite fights, and leave each stop with Health, Armor, mana, and party roles ready.RecoveryTrigger FixLootbound Companion Ability Not Triggering: FixesFix Lootbound companion abilities that do not trigger by checking tooltip conditions, mana, valid targets, and turn timing before changing the build.Companion FixSuppliesLootbound Consumables Guide: Potions and BombsUse Lootbound health potions, mana potions, and bombs at the right moment, preserve action economy, and reserve only consumables that solve the next fight.ConsumablesFortitudeLootbound Corruption vs Fortitude ExplainedUse Lootbound Corruption and Fortitude-reduction tools in the right turn order, read current tooltips, and avoid treating separate effects as one fixed formula.DebuffsEndgameLootbound Endgame: What to Do After the Final BossSee what remains in Lootbound after the final boss, from higher-difficulty hero clears and ability unlocks to achievements, item discovery, and new builds.After BossArmorLootbound Health vs Armor: Recovery GuideCompare Lootbound Health and Armor recovery, decide which resource to restore first, and route toward campfires before persistent damage ends the run.SurvivalGridLootbound Inventory Size: Can You Expand the Grid?Learn whether Lootbound inventory size can be expanded, use separate companion grids as party capacity, and clear full boards without breaking aura layouts.CapacityMapLootbound Map Icons and Room Types GuideRead Lootbound's exact map legend, distinguish every room icon, and route through recovery, rewards, upgrades, companions, and Sentinel choices by need.RoomsSACLootbound Smart App Control Blocked: Safe FixesResolve a Lootbound Smart App Control block safely by verifying the exact Windows warning, updating trusted software, checking Steam files, and preserving protection.Windows Fix21:9Lootbound Ultrawide Black Screen FixesFix Lootbound ultrawide black screens with safe update, file verification, 16:9 and 60 Hz tests, launch-option cleanup, and save-protected resets.Display FixArsenalLootbound Arsenal Guide: How Purchased Items WorkUnderstand what Lootbound Arsenal purchases do, where unlocked gear appears, why it is not delivered immediately, and how to plan the expanded drop pool.Hub UnlockDiceLootbound Best Die: Merchant vs Adventurer DiceChoose the best Lootbound die for your runs, compare Merchant and Adventurer strengths, and spend extra dice where the target and reward justify the risk.Hub ChoiceEffectsLootbound Buffs and Debuffs: Status Effects ExplainedRead Lootbound buffs and debuffs in combat, understand Fury, Speed, Focus, Tenacity, Fortitude, and Corruption, and time effects before key turns.Combat UIDemo SaveLootbound Demo Save Transfer: Can Progress Carry Over?Find out whether Lootbound demo progress transfers to the full game, avoid incompatible save copying, and protect the current release profile before testing files.Save SafetyI-IIILootbound Difficulty Levels: I, II, and III GuideMove through Lootbound Difficulty I, II, and III with clear readiness checks, current balance context, and build priorities for each step up.DifficultyDivineLootbound Divine Items: Auto-Rotation GuideUse Lootbound Divine items that rotate automatically, protect aura contacts through each orientation, and decide when their power is worth the grid cost.InventoryJewelryLootbound Rings and Amulets: Aura Layout GuideBuild stronger Lootbound ring and amulet layouts by choosing one equipment family, maximizing useful contacts, and preserving space for upgrades.Aura LayoutSealsLootbound Sentinel Seals: What They DoLearn the current use of Lootbound Sentinel Seals, why no Hub building accepts them, what progression happens automatically, and what not to reset.ProgressionCellsLootbound Small vs Large Items: Grid Efficiency GuideCompare small and large Lootbound items by useful stats per cell, aura contacts, shape disruption, and the exact role the finished inventory gains.Item ChoiceLoadingLootbound Stuck on Loading Screen: Startup FixesFix Lootbound when it is stuck on the first loading screen with safe steps for Windows, Linux, Steam Deck, refresh-rate issues, logs, and save protection.Startup FixBardLootbound Bard Instrument and Support Build GuideBuild Lootbound's Bard around demonstrated instrument support, useful Initiative, reliable buffs or healing, and enough party damage to finish fights.Class BuildGemsLootbound Blacksmith Gems GuideUse Lootbound Blacksmith Gems on lasting gear, protect important grid contacts, and complete the hidden gem-discard achievement without damaging a strong run.BlacksmithClassesLootbound Classes and Hero Unlock TroubleshootingConfirm Lootbound's Warrior, Witch, Bard, and Paladin roster, protect the save when a class remains locked, and separate technical checks from unlock progress.RosterFinalLootbound Final Guardian Boss GuidePrepare for Lootbound's final Guardian with focused damage, selected-part answers, Corruption or fortitude reduction when supported, sustain, and reserved mana.GuardianValueLootbound Item Value, Rarity, and Temporary Items GuideCompare Lootbound items by role, shape, contacts, replacement cost, and limited-combat timers instead of treating rarity as an automatic upgrade.Loot ChoiceShardsLootbound Memory Shards: Earning and Hub Progress PlanningEarn more Lootbound Memory Shards through room clears, use the increased current-version income to measure run progress, and track separate Hub purchase achievements.Hub ProgressionPaladinLootbound Paladin Hammer and Defense Build GuideBuild Lootbound's Paladin around demonstrated hammer pressure, enough defense to earn useful turns, and companions that convert durability into focused damage.Class BuildChallengeLootbound Speedrun and No Companion Death AchievementsPlan separate Lootbound attempts for the under-35-minute clear and no-companion-death achievement with practiced builds and objective-specific rules.CompletionWarriorLootbound Warrior Slash and Thorns Build GuideBuild Lootbound's Warrior around a demonstrated Slash offense or durable thorns role with compact gear, focused contacts, and companion coverage.Class BuildWitchLootbound Witch Debuff and Corruption Build GuideBuild Lootbound's Witch around a demonstrated debuff and Corruption direction, then add sustain, focused damage, and companion roles without fixed formulas.Class BuildDiceLootbound Dice Rolls and Risk Rewards GuideChoose the guaranteed common reward or roll for a better Lootbound item with a repeatable risk test based on board value and the next encounter.Reward ChoiceManaLootbound Mana Management and Target Priority GuideSpend Lootbound mana to prevent the most damaging enemy action, align companion attacks, and enter elites or the Guardian with the tools to execute the build.Combat FlowPartyLootbound Companions, Triggers, and Party Roles GuideEquip Lootbound companions for reliable automatic roles, align their low-health finishing behavior, and keep the party alive through bosses and challenges.CompanionsStatsLootbound Damage Types, Initiative, Order, and Chaos GuideUse Initiative for action timing, match Order and Chaos to relevant abilities, and choose Acid, Slash, or Crush for the enemy defense in front of the party.CombatPartsLootbound Guardian Boss Parts Choice GuideHandle Lootbound Guardian-part choices by using the visible selection information, tracking every selected part, and preserving answers to the party's existing weaknesses.GuardianGridLootbound Inventory Grid and Item Shapes GuideFit and rotate Lootbound items with an anchor-first layout that protects aura contacts, preserves flexible cells, and makes future upgrades easier to install.InventoryAuraLootbound Item Auras and Adjacency Placement GuidePlace Lootbound aura items beside compatible gear, verify active edges, and balance contact value against the grid space needed for later rewards.Placement100%Lootbound Achievements Guide and 100% RoadmapPlan all 20 Lootbound achievements across named bosses, four classes, Difficulty III, elites, items, Hub collections, Barracks, and challenge clears.CompletionStartLootbound Beginner Guide: A Reliable First-Run PlanUse a practical Lootbound first-run plan for reward choices, inventory layouts, companion roles, mana, bosses, and useful Hub progress after a loss.Start HereBossesLootbound Boss Preparation ChecklistUse a repeatable preparation checklist before Lootbound bosses and track the achievement-named Vizier, Queen of Mad Swarm, and Ashen Bastion separately.Encounters

Player task

Start Here

Make the first run stable before chasing specialized builds.

Player task

Loot & Combat

Solve grid placement, item value, damage, mana, and targeting decisions.

Player task

Heroes & Builds

Choose class plans and equip companions for reliable automatic roles.

Player task

Hub Progression

Plan Memory Shard earning, Hub goals, and careful Blacksmith Gem use.

Player task

Bosses & Encounters

Prepare for named bosses, Guardian parts, and the final encounter.

Player task

Completion

Plan achievements, challenge clears, and long-term collection goals.

Player task

Technical Help

Check release status, requirements, controls, Steam Deck, saves, and quick answers.