Spend mana only when it changes the fight
Use mana to remove or disable a dangerous enemy before it acts, protect a companion whose role the party needs, open armor for focused damage, or stabilize a boss setup. Save mana when normal actions already control the encounter. The current balance improves recovery between fights and Second Wind recovery, but entering an elite or boss empty still removes important options.
Choose the target before choosing the ability. Identify which enemy's next action creates the largest loss, check whether the party can stop that action in time, and spend only what is required. Mana used to shorten a safe fight has lower value than mana reserved to prevent a companion death or break a boss defense.
Rank targets by the next action they will take
Do not start with the enemy that has the lowest health unless removing it also removes the most dangerous upcoming action. Read Initiative, current armor and health, buffs or debuffs, and the party's available lane. A target that can be eliminated before acting belongs at the top when its action would damage the run more than the others.
Once the target is chosen, keep the main hero and companions aligned. Companion basic behavior can favor low-health enemies, so bring the chosen threat into finishing range and avoid scattering small attacks across the board. Removing one action entirely is usually more valuable than leaving several enemies barely alive.
- List the hostile actions that occur before the party can stabilize.
- Choose the action with the greatest cost to damage, survival, or mana.
- Check whether Acid, Crush, Slash, control, or defense solves it.
- Commit attacks until the threat is removed.
- Recalculate after every enemy action or defeat.
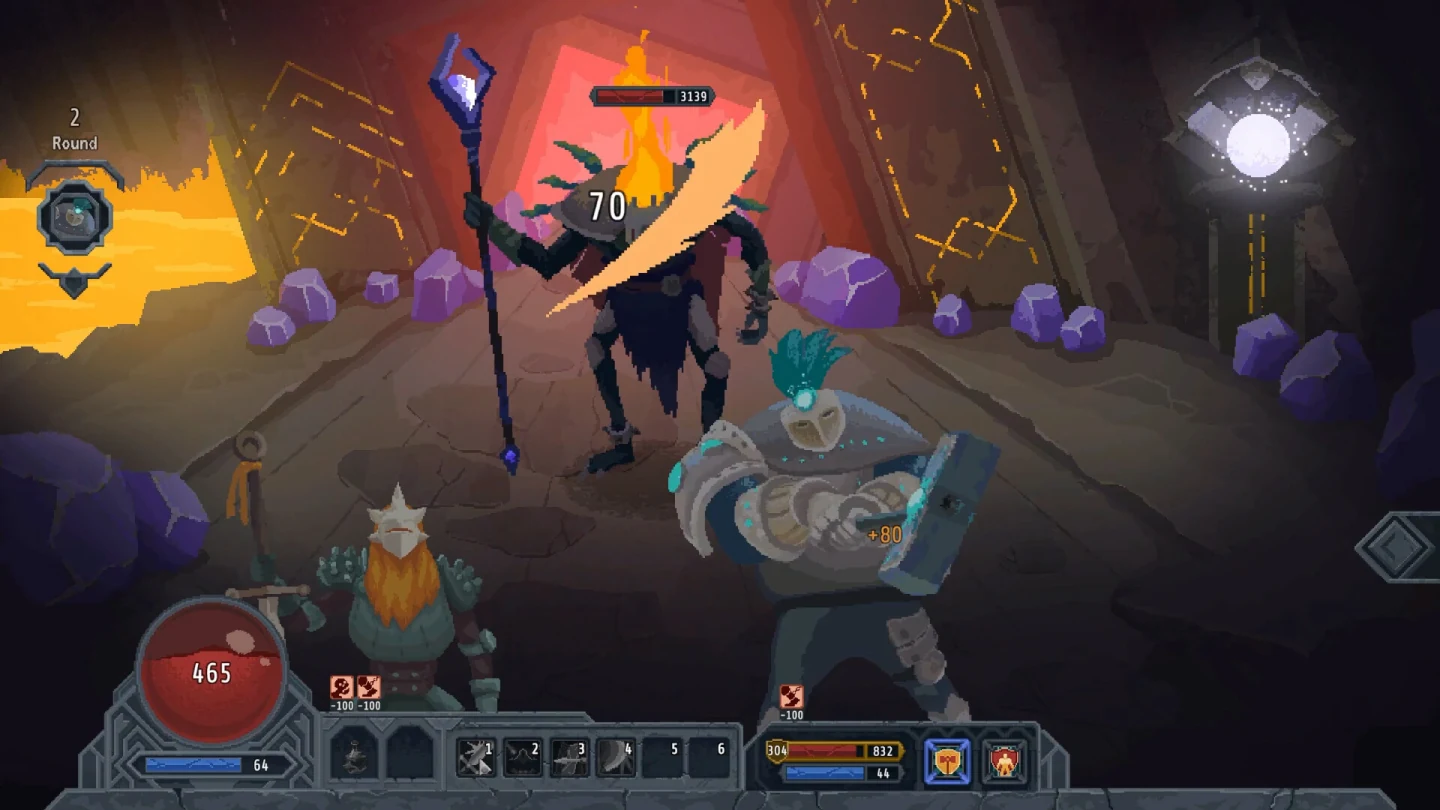
Set a mana budget before pressure fights
Look ahead from each ordinary room to the next elite, named boss, or Guardian decision. Decide which abilities must be available at that point and stop spending once the current room is safe. Improved recovery reduces the punishment for necessary spending, but it does not make every cast free. The budget protects the opening sequence that the build relies on.
For a setup-heavy Witch plan, reserve enough mana and survival to establish Corruption. For a support Bard, protect the early effect that keeps companions contributing. For a defensive Paladin or Warrior, spend when defense converts directly into additional useful turns, not when the party already has control. These are role-based budgets rather than fixed numeric formulas.
| Situation | Spend | Save |
|---|---|---|
| Enemy acts before removal | When the ability prevents the action | When normal attacks already finish it |
| Companion at risk | When that companion's role is essential | When protection does not change survival |
| Ordinary room controlled | Only for a direct resource gain | For the next elite or boss |
| Boss setup | On the actions that establish the main plan | On unrelated secondary effects |
Coordinate automatic companions with manual focus
You directly control the main hero, while companions act from their own conditions. Equip them for repeatable roles and use the hero to shape the battlefield those roles expect. If companions tend to finish low-health targets, the hero should create one low-health priority target rather than several. If a companion supplies armor pressure, let that action arrive before committing health-focused attacks.
Protect the companion that keeps the sequence working. Losing the healer, buffer, armor answer, or consistent finisher can turn saved mana into unusable resources because the party no longer has the role the mana was meant to support. Target priority therefore includes friendly value: remove the enemy most likely to break the party's central loop.
- Give each companion one automatic job.
- Use the main hero to prepare the target for that job.
- Keep damage concentrated until an enemy action disappears.
- Protect the companion whose loss breaks the sequence.
Fix common mana and targeting failures
If mana is always empty at bosses, stop using abilities in ordinary rooms that basic actions already control. If mana remains full while companions die, spend earlier on the action that prevents the decisive loss. If damage spreads across enemies, select one threat and use the main hero to create a clear finishing target for automatic allies. If armor stalls the party, reserve mana for the Crush, Acid, or setup action that opens health pressure.
Review the fight by asking one question: which spent or unspent action would have removed the greatest loss? Carry that answer into the next encounter. This keeps resource decisions concrete and prevents a rigid target list from replacing the visible turn order and defenses that change every fight.