Start with one damage plan and a stable board
Build the first run around one repeatable way to damage enemies, then use the remaining cells for survival and support. Place the main weapon or defining effect first, rotate it into a position that leaves usable space, and only keep rewards that strengthen that plan or solve a clear weakness. A compact common item that activates an important contact is a better pickup than a larger rare item that breaks the whole board.
You control the main hero directly. Companions act automatically from their own conditions, so equip each companion for a job that works without precise manual timing. One companion can provide steady damage while another handles support or durability. The party becomes easier to manage when every grid has a purpose and all characters pressure the same immediate threat.
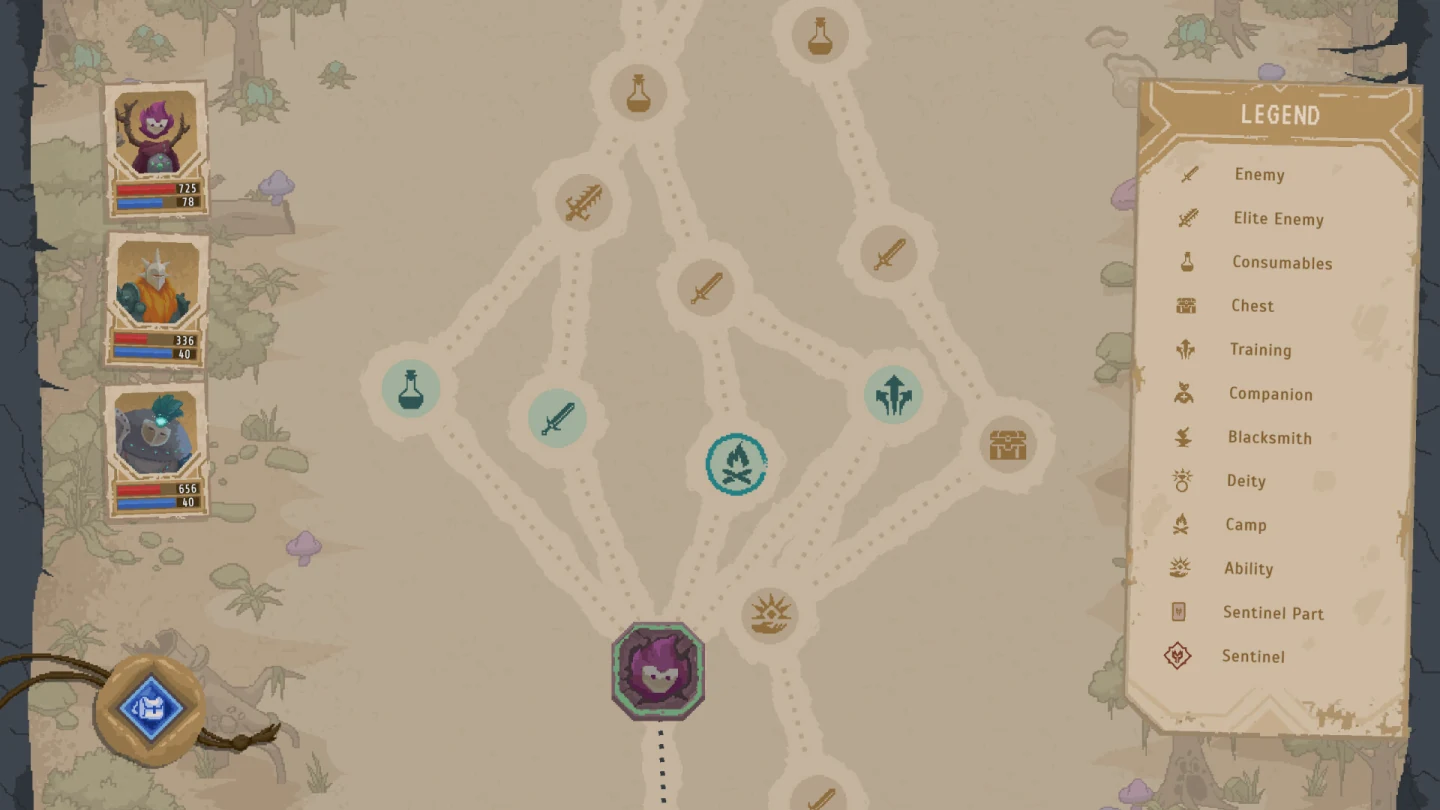
Evaluate every reward in the same order
Patch 1.1.7 presents a clear reward decision: take a guaranteed common item or gamble with a die for a better reward. Before rolling, inspect the common item as a board piece rather than judging its color. Check whether it fills an empty role, creates a useful aura contact, replaces inefficient filler, or fits a gap that other shapes cannot use. Take it when the answer is yes and the next encounter matters.
Roll when the common item has no practical place and the run can continue without an upgrade. The gamble is strongest when the current board is already stable, because a weak result does not create an emergency. It is weakest when damage, defense, or grid space is already failing. This same approach works for every later drop: identify the problem first, then decide whether the reward actually fixes it.
- Name the current weakness: health pressure, armor pressure, survival, mana, or space.
- Check the item's effect, shape, rotation, and useful contacts.
- Compare it with the exact item that would leave the board.
- Accept the change only when the complete layout is stronger afterward.
Play fights for the next encounter
Read Initiative and the visible enemy state before spending mana. Initiative controls who acts early, so a smaller action delivered before a dangerous enemy can matter more than a larger action that arrives too late. Focus the enemy whose next turn creates the greatest loss, and keep attacking that target until it is removed. Spreading damage leaves several actions active and makes automatic companion targeting harder to support.
Use mana when it changes the outcome: removing a threat before it acts, protecting a companion, breaking the defense that blocks the party, or stabilizing a boss setup. Save mana when normal actions already control the fight. Recovery between encounters improved in the current version, but an empty party still enters an elite or boss without its best answers. Finish ordinary fights with the next high-pressure room in mind.
- Acid is the direct answer when armor must be bypassed.
- Slash applies health pressure and works best when armor is not delaying the plan.
- Crush is the practical lane when armor is the immediate obstacle.
- Order and Chaos investment belongs only on abilities that use the matching stat.
Prepare the party before a biome ends
At the end of each biome, the run presents a choice between two Guardian parts. Treat that choice as a warning to inspect the whole party. Do not select by appearance and immediately continue. Check whether the main damage lane still works, whether companions survive long enough to perform their jobs, and whether the inventory has become so crowded that one replacement breaks several contacts.
The final Guardian rewards a focused run more than a collection of unrelated effects. Corruption, fortitude reduction, focused damage lanes, and sustain are all workable approaches when the current equipment supports them. None is mandatory for every run. The correct preparation is the plan already demonstrated by the party, reinforced with enough survival and mana to execute it through a longer encounter.
Turn a failed run into a specific correction
After a loss, classify it before starting again. A damage failure means the party could not remove threats quickly enough. A survival failure means a key character stopped contributing. A mana failure means important actions were unavailable at the pressure point. A layout failure means useful rewards could not fit or active contacts collapsed after a swap. Fix one category on the next run instead of replacing every decision at once.
Memory Shards and Hub goals make losses productive, but permanent progress does not replace good run decisions. Use earned progress to support the class or weakness you actually intend to play, then repeat the same core plan with one adjustment. This creates a clear feedback loop: stable board, focused party, deliberate mana use, boss preparation, and one diagnosis after failure. That loop is the fastest way to make early Lootbound runs understandable and repeatable.
- Damage loss: narrow the build to one lane and improve target focus.
- Survival loss: protect the companion or hero whose role collapses first.
- Mana loss: spend less in ordinary rooms and enter pressure fights prepared.
- Grid loss: remove low-impact filler and preserve flexible open cells.