Choose the item that makes the complete grid stronger
Compare small and large items by finished-board value, not by rarity or isolated numbers. A compact three- or four-cell weapon can touch several matching auras and leave room for defense. A large item can be correct when its base effect becomes the new anchor or when the grid is still empty enough to support its shape.
Before swapping, count occupied cells, useful aura contacts, broken contacts, and connected space left afterward. Keep the large item only when its total contribution beats the compact item plus everything that fits around it. This is why a modest small weapon can outperform a dramatic ten-cell piece in an established jewelry engine.
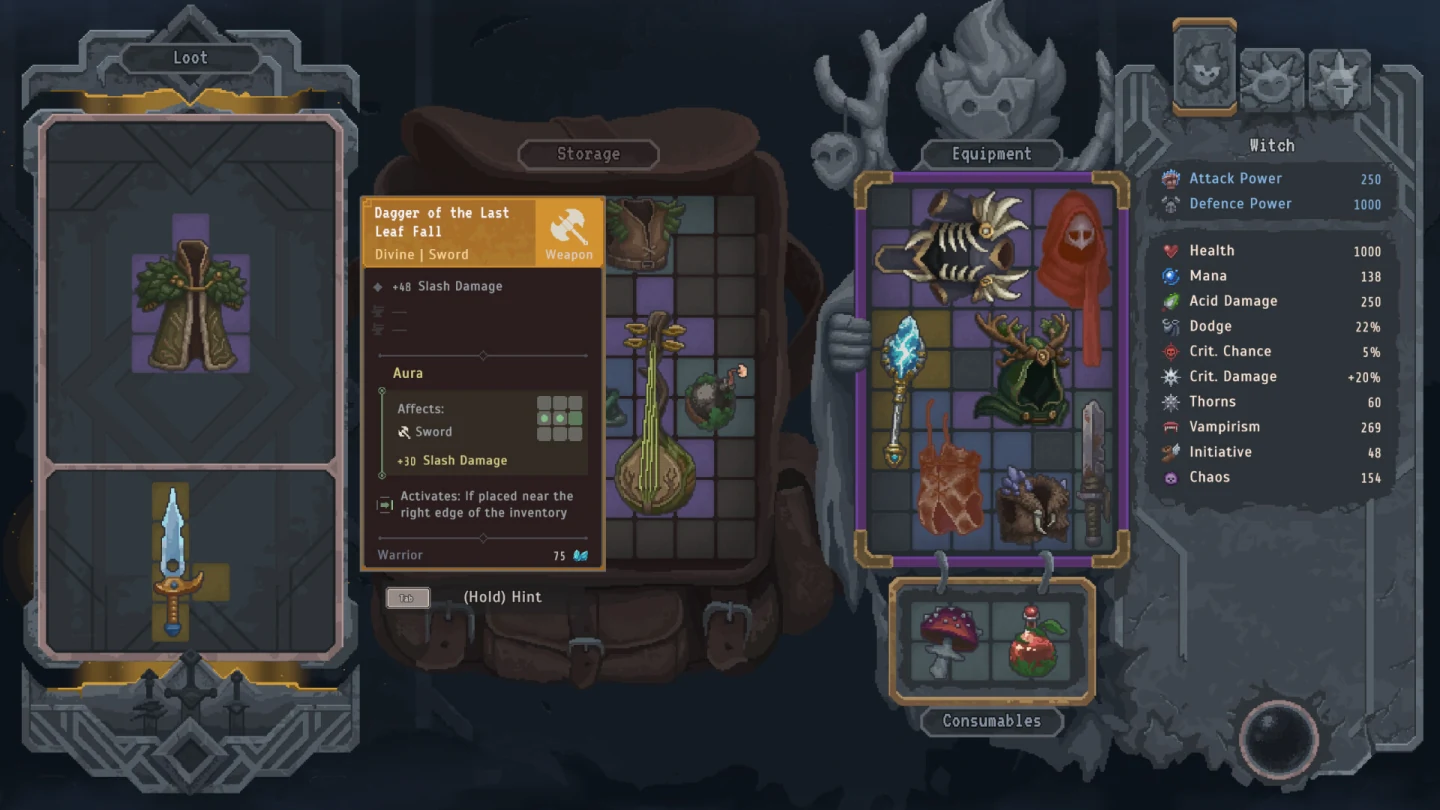
Measure useful value per occupied cell
Start with the role the item performs: Slash, Crush, Acid, defense, healing, support, or another clear job. Divide attention across the cells only after the role is useful. A tiny item with an irrelevant effect is still filler. A large item with a defining effect can justify its footprint when the character has no better anchor.
Then add aura value. Count only verified compatible contacts. A compact hammer touching two strong hammer bonuses may gain more total value than a larger hammer that blocks both contact lanes. Do not invent a universal numeric score; use the same comparison categories on both candidate layouts so hidden disruption is visible.
| Measure | Small item advantage | Large item advantage |
|---|---|---|
| Footprint | Fits pockets and contact lanes | Can anchor an open early board |
| Aura access | Often touches several multipliers | May carry a defining aura itself |
| Replacement | Easy local swap | Worthwhile only for a major role change |
| Open space | Preserves future options | Acceptable when unused space is abundant |
Use large items early, then demand more from them
Large weapons and combined armor shapes are easiest to justify when the grid is open and they immediately establish damage or survival. Install them as early anchors when their effect is clearly stronger than the available alternatives. Build around them without scattering filler through the remaining connected area.
As the run progresses, raise the standard. Rings, amulets, gems, and compact matching gear make each neighboring cell more valuable. A large item that once carried the board can become the obstacle preventing several stronger relationships. Replacing it is correct when the new compact cluster performs the same role with more active value and usable space.
- Early run: value immediate role definition.
- Mid run: value matching contacts and clean lanes.
- Late run: value net gain after every broken relationship.
- Boss approach: value reliability over theoretical maximums.
Reject deceptive small-item stacks
Small items are not automatically efficient. Several compact pieces can consume more total cells, create awkward one-cell gaps, and duplicate the same low-impact effect. Keep each piece only when it receives a useful aura, fills a role, or preserves a shape that a real upgrade can use later.
Check defensive space as well. A grid filled with tiny weapons can produce excellent damage while leaving no room for armor or utility needed by the final sequence. Move secondary damage to a companion or remove the weakest receiver before the board becomes impossible to repair. Efficient density still needs a complete character role.
- Remove compact items that do not receive or provide useful value.
- Group matching receivers around the strongest multiplier.
- Preserve one connected defense or upgrade pocket.
- Check that the character can survive long enough to use the damage.
- Add filler only when its cell would otherwise remain unusable.
Make the replacement decision without sunk cost
Ignore how rare the old item is and how long it has been equipped. Build the candidate layout completely, then compare role output, active contacts, survival, and open space. If the compact arrangement wins those categories, replace the large piece. If the large item remains the only strong anchor, keep it and reject sidegrades that merely look easier to fit.
A good final board has one understandable engine and enough space for required support. It may contain one large centerpiece, many small receivers, or a mixture. The correct size is whichever produces the most reliable complete role from the available grid, not whichever fills every cell.